۷ Best Fixes for Hard Drive Not Showing Up on Android TV
Netflix and Prime Video let you enjoy the best shows and movies on your Android TV. Besides streaming, you can also connect your hard drive to your Android TV to enjoy photos and videos on a large screen. All you need to do is plug in the hard drive into the USB port of your TV.
However, many users struggle to view the contents of their hard drives when connecting them to an Android TV. Many often forget about the basics and jump the gun. Don’t worry. We’ve compiled the best ways to fix hard drive not showing up on Android TV.
۱. Check if the Correct USB Port Is Selected
Starting with some basics, check whether you’ve connected and choosing the correct USB port from the Android TV interface. That’s essentially if you’ve connected multiple devices to your Android TV. Press the Source button on your Android TV remote and select the correct USB port. Try changing the USB port and use the source button on the remote to find the perfect one that works with your TV.
۲. Check USB Hub or USB Adapter
If your hard drive has a USB Type-C port, you can use a USB-C to USB-A Adapter to connect it to your Android TV. However, there’s no guarantee the a USB adapter or a hub will function seamlessly with your Android TV. If the hard drive isn’t getting enough power from the adapter or hub, it’ll keep disconnecting or not show up at all. So try removing the adapter or hub from the Android TV and connect the hard drive using the USB-C to USB-A cable.
۳. Eject and Reconnect Hard Drive
You may have been disconnecting the hard drive from our Android TV without ejecting it first. Your Windows computer offers the option to eject the hard drive to safely remove it without causing any data loss. The Android TV also includes a similar option. Here’s how you can use it to eject and reconnect your hard drive to check if that solves the problem.
Step 1: If you have disconnected the hard drive, connect it again with your Android TV.
Step 2: Select the Notification icon on the top-right side of the home screen of your Android TV.

Step 3: Select your Hard Drive from the right menu.

Step 4: Select Eject from the left menu.
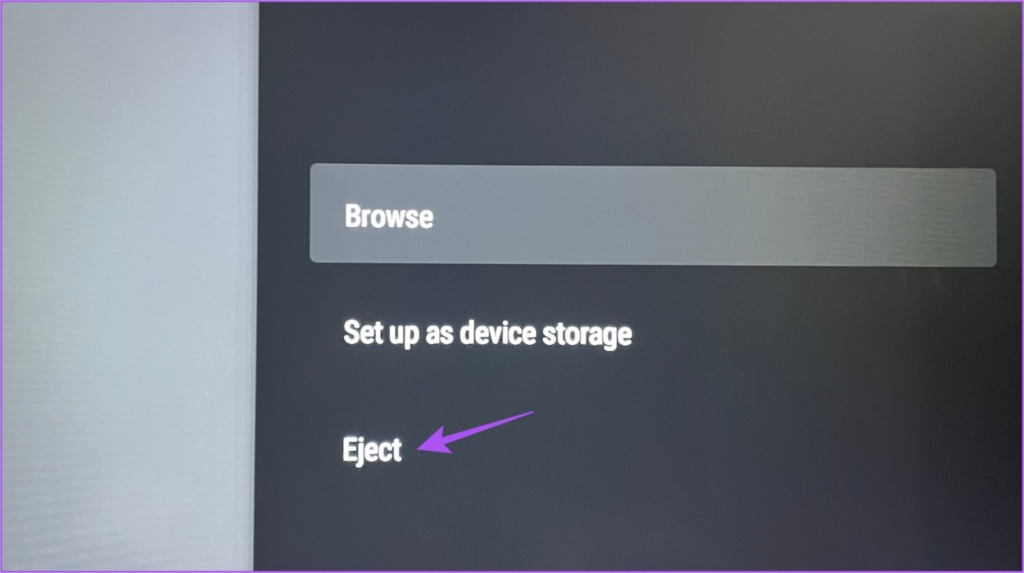
Step 5: After the hard drive is ejected, connect it again and check if the problem is solved.
۴. Check if Android TV Supports the File Format
Although the latest Android TV models support various file formats. But if you are still unable to see your hard drive contents on your Android TV, you should check if the file format is actually supported by your TV model. We suggest installing VLC Media Player and checking if that solves the problem.
Step 1: On your Android TV home screen, go to Play Store.
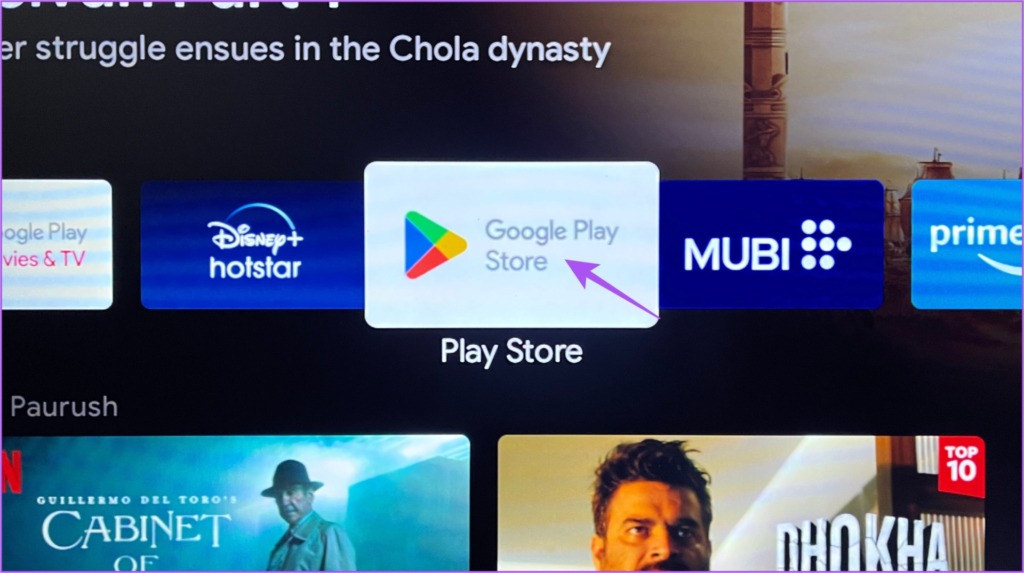
Step 2: Search for VLC Media Player.
Step 3: Install VLC Player for Android.

Step 4: Open VLC Player for Android and select Allow to access photos, media, and files on your Android TV.

Step 5: Select Start VLC.

Step 6: Select Yes on the prompt that says ‘New external storage detected.’

Step 7: Scroll down and select your hard drive under the Browsing section.

Check if you are able to see the contents. Refer to our post if your Android TV is not downloading apps.
۵. Check if Your Hard Drive Uses MBR Partition
Many new hard drives and SSDs usually rely on a partitioning format called GPT (GUID Partition Table). The GPT format allows the entire capacity of the hard drive to be used on computers. But if your is still now showing up on your Android TV, it is possible that your Android TV doesn’t support the partitioning format.
In that case, you need to connect your hard drive to your computer and check if it supports the MBR or Master Boot Record format for partitioning as this format might be supported by your Android TV.
Here’s how to check the same.
For Windows
Step 1: Connect the hard drive to your Windows PC.
Step 2: Click the Start icon and type Command Prompt.

Step 3: From the results, click on ‘Run as administrator.’

Step 4: In the Command Prompt window, type diskpart and press Enter.

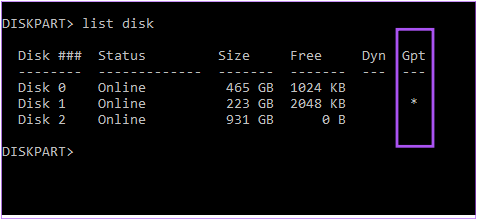
Step 5: Next, type list disk and press Enter.

If you see an asterisk (*) symbol below GPT next to the name of your hard drive, it means that it supports GPT partitioning.
For Mac
Step 1: Connect the hard drive to your Mac.
Step 2: Press Command + Spacebar to open Spotlight Search, type Disk Utility, and press Return.

Step 3: In the Disk Utility window, click on your hard drive from the left menu.

Step 4: See if the option for Partition is enabled or not.
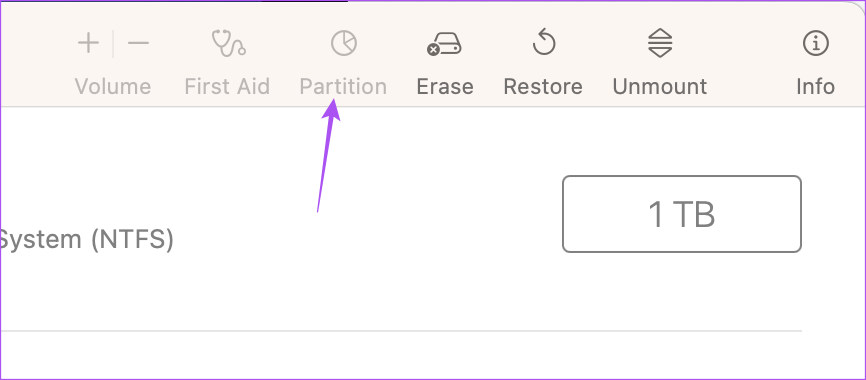
If not, your hard drive already supports the MBR format.
۶. Format Hard Drive from GPT to MBR Partition
If your hard drive doesn’t support the GPT format, here are the steps to convert it from GPT to MBR partition. Do note that this process will erase all the contents of your hard drive. So make sure you have a backup of your data.
Using Windows PC
Step 1: Connect the hard drive to your Windows PC.
Step 2: Click the Start icon and type Command Prompt.

Step 3: From the results, click on ‘Run as administrator.’

Step 4: In the Command Prompt window, type diskpart and press Enter.

Step 5: Type list disk and press Enter.

Note down the number of your disk that supports GPT format.

Step 6: Type Select Disk (disk number) and press Enter.

Step 7: Type Clean and press Enter. Do note that this step will erase all the contents of your hard drive.

Step 8: Type convert mbr and press Enter.
Your hard drive’s partition will be converted to MBR format. Eject the drive and check if the problem is solved.
Using Mac
Step 1: Connect the hard drive to your Mac.
Step 2: Press Command + Spacebar to open Spotlight Search, type Terminal, and press Return.

Step 3: Type diskutil list and press Enter.

Step 4: Note down the disk number of your hard drive.

Step 5: Type the following command and press Return to format your hard drive’s partition.

diskutil partitiondisk /dev/disk0 MBR JHFS+ new 0b
Step 6: After that, eject the hard drive and check if the problem is solved.
۷. Update Android TV OS
If you are still unable to view your hard drive, you can try updating the version of Android TV OS as the current one might be buggy.
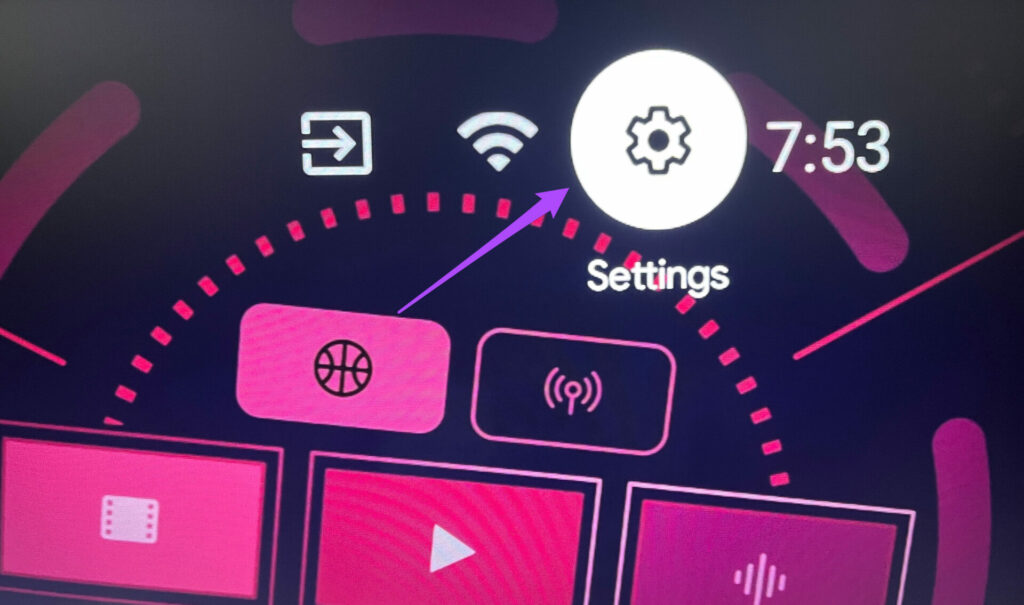
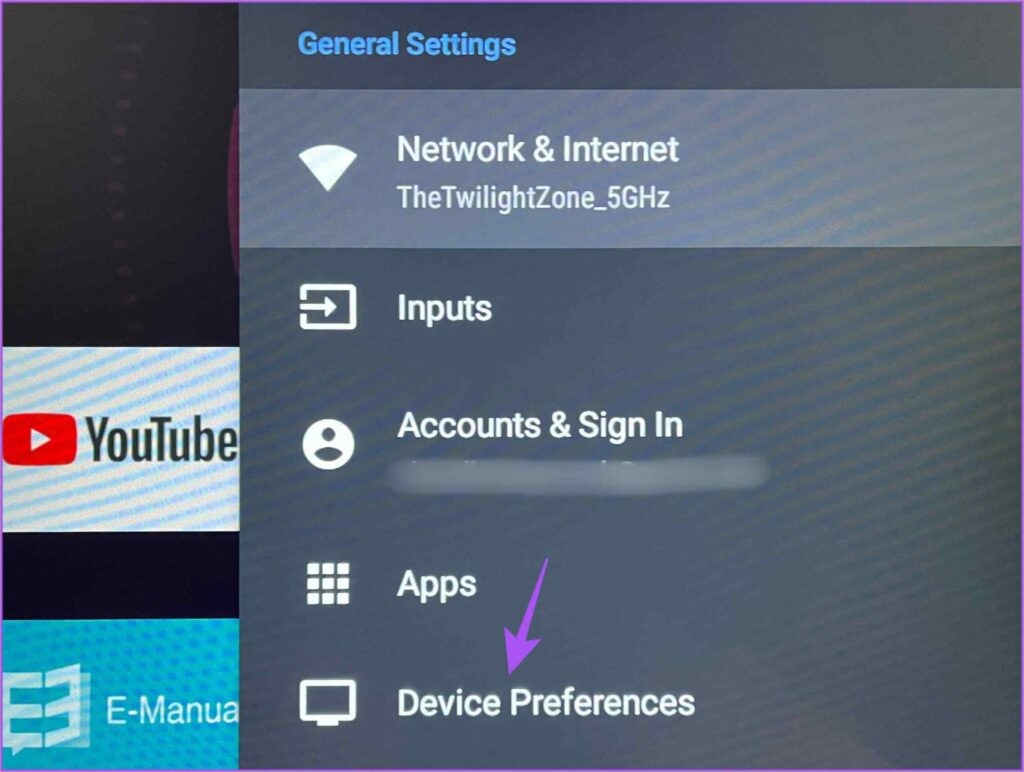
Step 1: Go to Settings on your Android TV home screen.
Step 2: Select Device Preferences from the right menu.
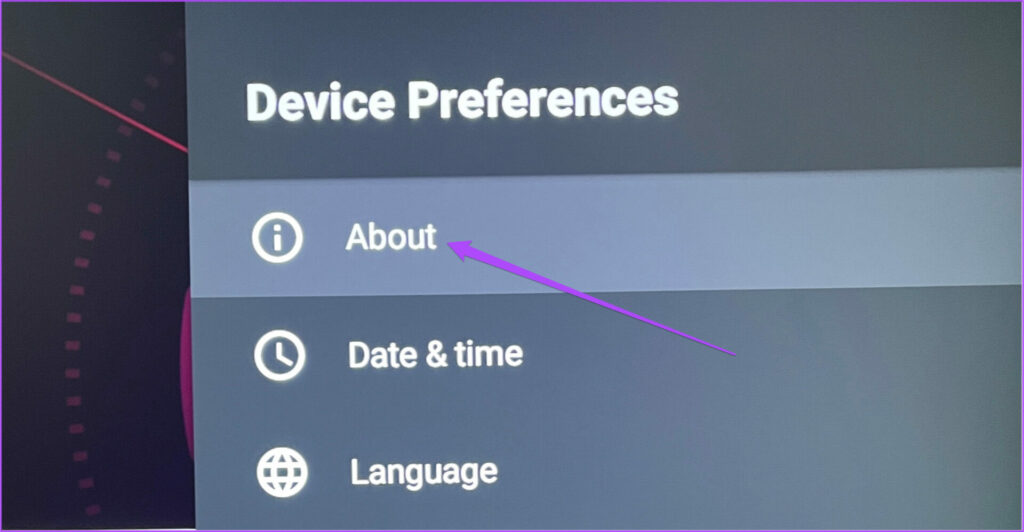
Step 3: Select About.
Step 4: Select System Update.
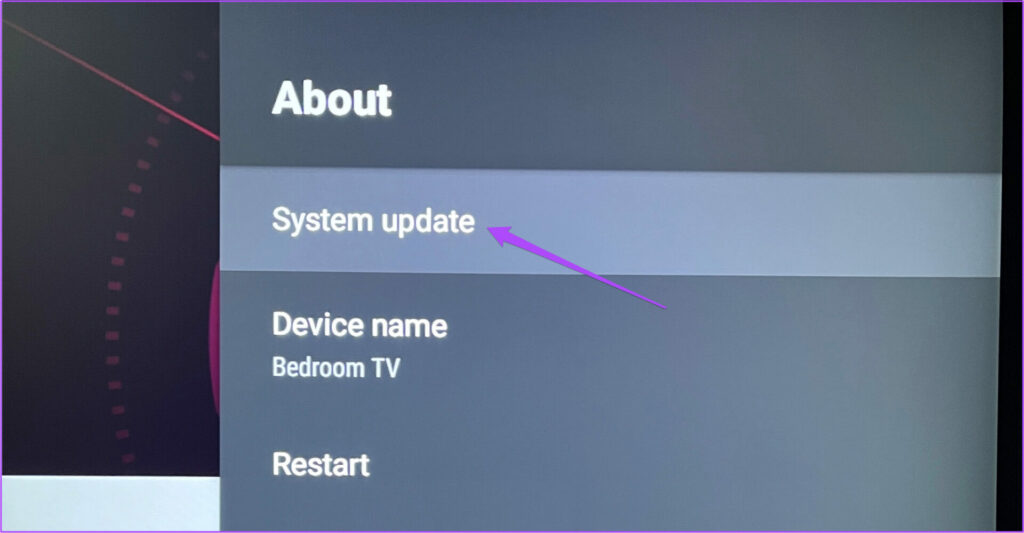
Step 5: If an update is available, download and install it.

Step 6: Connect your hard drive and check if the problem is solved.
Use Hard Drive on Android TV
These solutions will help you access your hard drive data on the big screen of your Android TV. You can also read our post if apps are not updating on your Android TV.

